...
Tag

home decor

Browsing

If you’re looking to elevate your home style, one simple yet effective way is to choose the right curtain pleat design. Chic curtain pleats not only enhance the aesthetic appeal of your space but also create a sense of elegance and sophistication

Among the various design elements, curtain pleats play a crucial role in the overall appearance. Pinch pleat curtains, one of the most popular styles, bring sophistication and a tailored look to any space.

What are Pinch Pleat Curtains?

Pinch pleat curtains are characterized by evenly spaced, sewn-in, permanently pinched fabric at the top, creating a structured and tailored appearance. This style is versatile and suits various decor themes, from traditional to modern.

Types of Curtain Pleats

Below is the list of Different Types of Curtain Pleats

  • Box Pleat
  • Eyelet Pleat
  • Tailored Pleat
  • Goblet Pleat
  • Pinch Pleat

Box Pleat

This pleat style features wide, flat folds that create a smooth and tailored look.
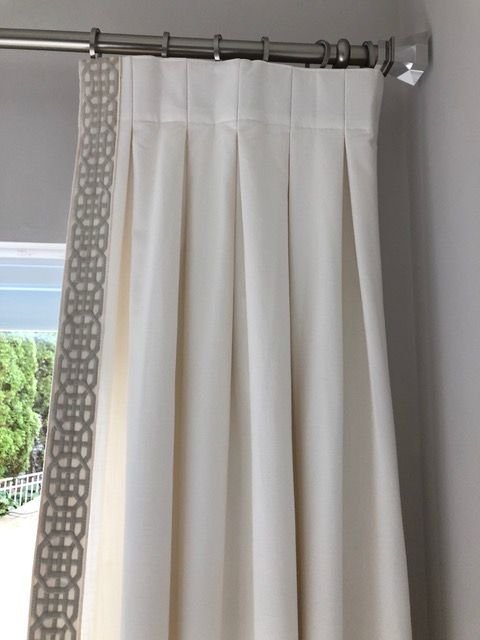
Box pleats work well with medium to heavy fabrics and are suitable for both traditional and contemporary spaces. They offer a neat and formal appeal, adding a touch of sophistication to any room.

Eyelet Pleat

Eyelet pleat curtains are designed with metal or plastic rings that are integrated into the fabric. These rings allow the curtain to glide easily along the rod, creating a modern and effortless drape.

curtain pleats

They add a touch of simplicity and can be a perfect choice for a minimalistic interior.

Tailored Pleat

Tailored pleat curtains are characterized by their precise and crisp folds. This pleat style creates a structured and elegant look, making it a popular choice for formal spaces.

curtain pleats

Tailored pleats work well with medium to heavy fabrics and provide a timeless and sophisticated appeal.

Goblet Pleat

For a touch of luxury and grandeur, consider the goblet pleat style. Goblet pleat curtains feature a cylindrical shape that resembles a wine goblet.

curtain pleats

This pleat style adds volume and drama to any space, making it ideal for formal dining rooms or master bedrooms. Goblet pleats work best with medium-weight fabrics that hold their shape well.

Pinch Pleat

Pinch pleat curtains, sometimes referred to as French pleat curtains, are a classic and versatile choice. This style creates evenly spaced pinched fabric folds, resulting in a tailored and structured appearance.

curtain pleats

They offer a refined and timeless elegance, making them a popular choice for many homeowners.

How to pleat curtains

To pleat curtains, you can follow these general steps:

  • Measure the width of your curtain panel and determine the spacing and number of pleats you want.
  • Mark the pleat points on the top edge of the panel, evenly distributing them as desired.
  • Pinch the fabric at each mark and secure it with pins or clips to maintain the pleat shape temporarily.
  • Sew along the pinched sections to create permanent pleats.
  • Repeat this process
  • Press the pleats with an iron to make them sharp and crisp.
  • Note: The specific steps may vary depending on the type of pleat you choose.

How to hang pinch pleat curtains

  • Install the curtain rod or track system according to the manufacturer’s instructions.
  • Slide the rings or hooks onto the rod or attach them to the track.
  • Hang the curtain panels on the rings or hooks
  • Adjust the length of the curtains as needed, allowing them to lightly touch the floor or windowsill.
  • Adjust the width of the curtains by gently pulling or pushing the fabric to achieve the desired fullness and spacing of the pleats.
  • Once the curtains are properly hung, adjust the pleats to ensure they are evenly spaced and hang evenly.

Choosing the right curtain pleat can elevate the style and ambiance of your home. With a wide range of options available, including box pleats, eyelet pleats, tailored pleats, goblet pleats, and pinch pleats, you can find the perfect match for your interior decor. By selecting chic curtain pleats, you can transform your windows into stunning focal points while adding sophistication and character to any space.

Read More

5 Easy Hacks To Transform Your Ordinary Home Look Luxurious

Home improvement projects offer an exciting opportunity to transform your living space into a more comfortable and aesthetically pleasing environment. If you’re new to the world of DIY, don’t worry! We’ve got you covered with these five simple yet rewarding projects that will enhance your home and boost your confidence in tackling DIY endeavours. Let’s dive right in!

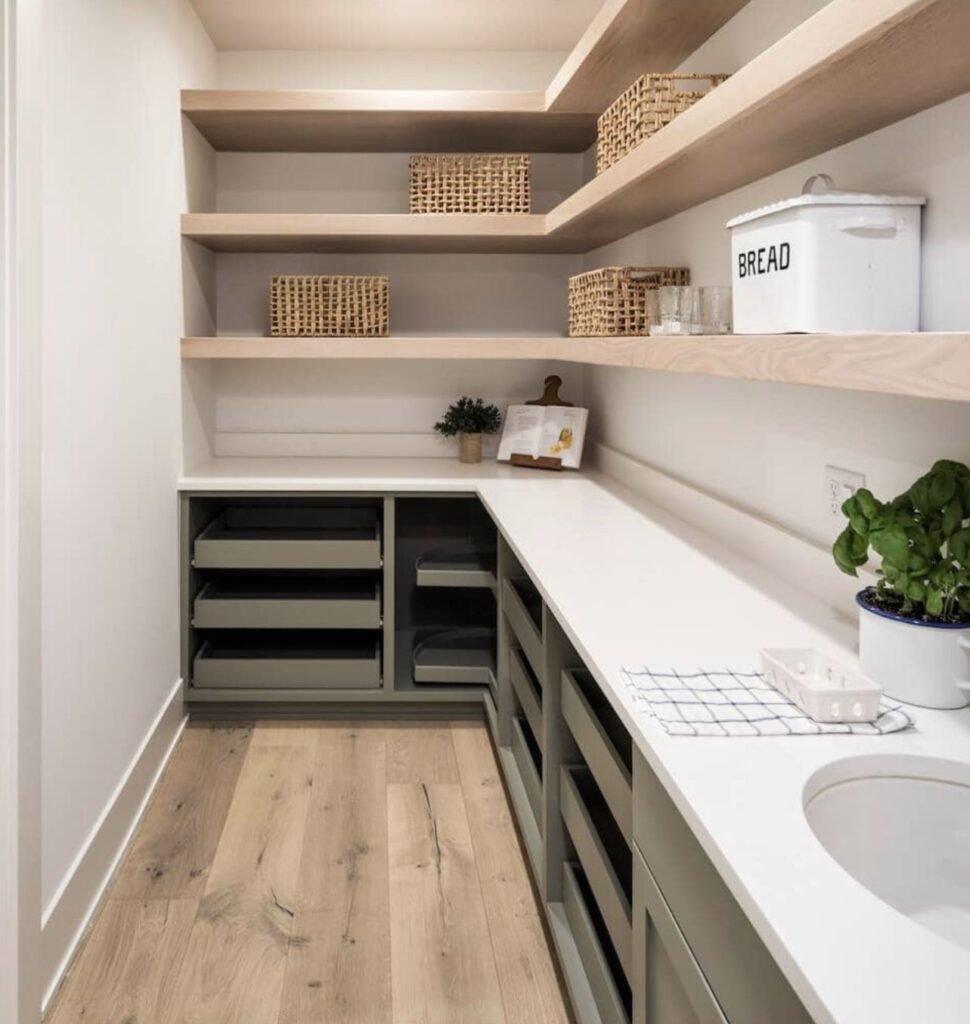
DIY Pantry Shelves: Organized Bliss

Is your pantry a chaotic mess with cans, jars, and boxes stacked haphazardly? It’s time to transform it into an organized oasis. These shelves will not only keep your kitchen essentials neatly arranged but also add a touch of elegance to your culinary space. With DIY pantry shelves, you can achieve both functionality and aesthetics. Start by measuring the available space and gathering your materials. A trip to the local hardware store will provide you with the necessary wood, brackets, and screws.

Image via Pinterest

Begin the Project by:

  1. Planning: Sketch your ideal pantry shelf design. Consider the number of shelves, depth, and the distance between them.
  2. Cutting: Using a saw, cut the wooden boards into the desired lengths for the shelves.
  3. Assembling: Attach the brackets to the wall and secure the wooden boards, creating sturdy shelves.
  4. Painting or Staining: Add a personal touch by painting the shelves in a colour that complements your kitchen decor or stain them to showcase the wood’s natural beauty.

By the end of this project, you’ll have not only a well-organized pantry but also a sense of accomplishment.

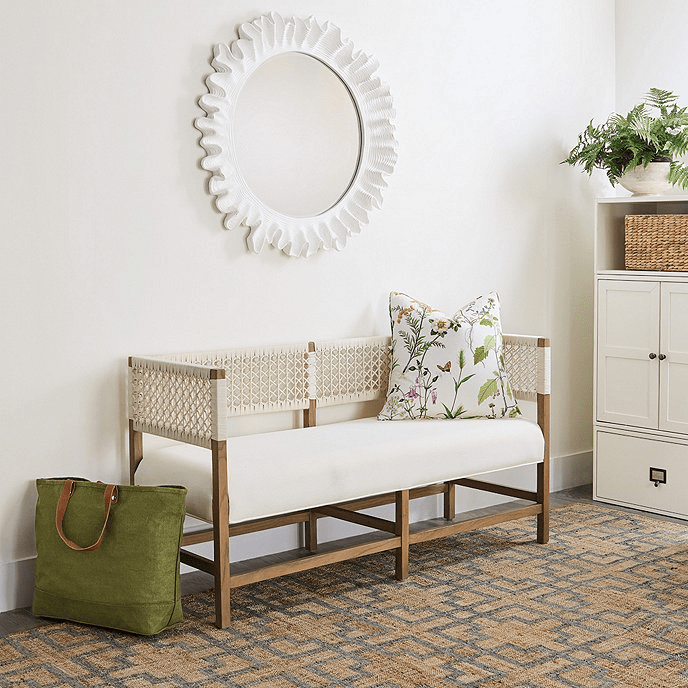
DIY Entryway Bench: Welcoming Elegance

Your entryway sets the tone for your entire home. An entryway bench not only offers a practical seating solution but also enhances the visual appeal of your space.

DIY Entryway Bench

Image via Pinterest

To get started, you’ll need some basic woodworking tools and the following steps:

  1. Designing: Sketch a design that suits your entryway’s size and style. Consider including storage space beneath the bench for shoes or baskets.
  2. Cutting and Assembling: Cut the wood pieces according to your design and assemble the bench frame.
  3. Finishing: Sand the wood to create a smooth surface, and then apply your chosen finish, such as paint or stain.
  4. Adding Cushions: To make your bench cozy, add cushions or pillows in a fabric that complements your decor.

Your guests will be greeted by elegance and functionality every time they enter your home.

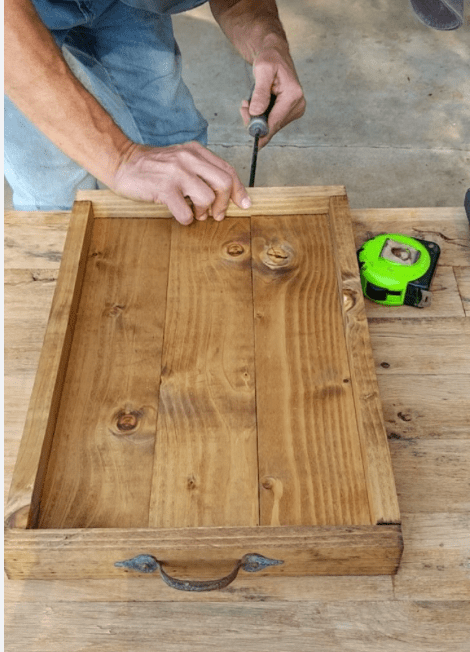
DIY Serving Tray: Craftsmanship Unleashed

Creating a personalized serving tray not only adds a touch of sophistication to your dining experience but also allows you to showcase your craftsmanship. You can customize it to match your home decor, and it’s a fantastic accessory for hosting gatherings or enjoying breakfast in bed. Plus, it’s an ideal project to hone your woodworking skills.

DIY Serving Tray

Image via Pinterest

Here’s how to go about it:

  1. Selecting Materials: Choose wood or acrylic sheet as your base material. You can find these materials at your local craft store.
  2. Design and Cut: Design the shape and size of your tray, then carefully cut the material using a saw or specialized cutting tools.
  3. Handles and Decoration: Attach handles to the sides for easy carrying. You can also paint, stain, or decorate the tray’s surface according to your preferences.
  4. Finish: Apply a clear finish to protect your tray and make it shine.

This DIY project is an excellent way to express your style and impress your guests during gatherings.

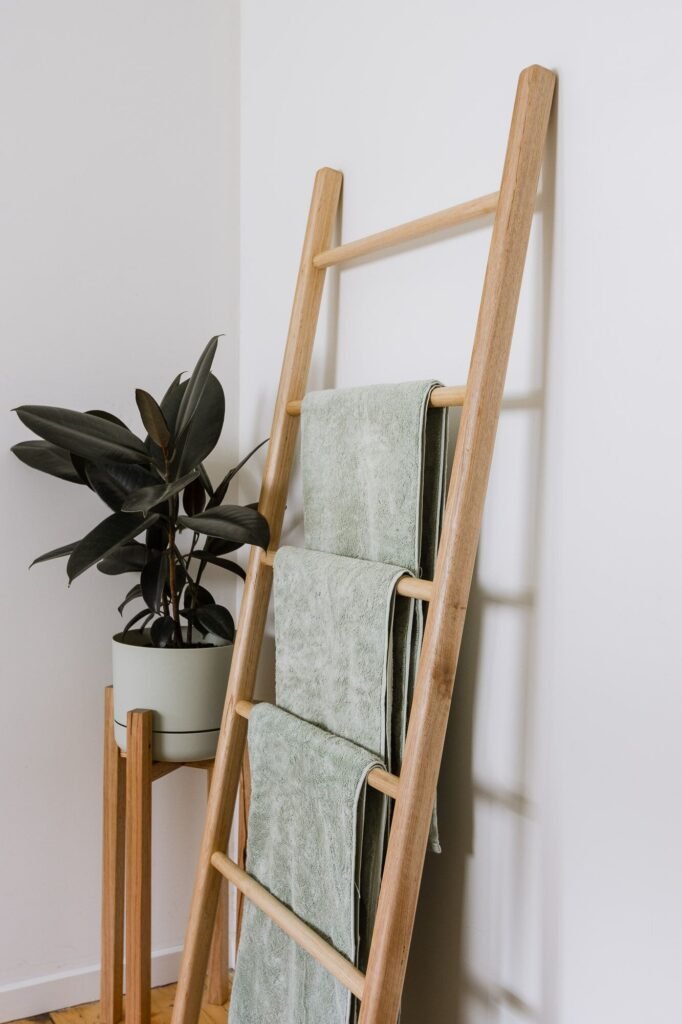
DIY Blanket Ladder: Cozy Corner

Adding a blanket ladder to your living room or bedroom not only keeps your cozy throws within arm’s reach but also adds a rustic, decorative touch. This project is simple yet rewarding, making it a great choice for newcomers to DIY.

DIY Blanket Ladder

Image via Pinterest

Here’s how to make one:

  1. Materials: Gather wooden dowels and two long wooden boards.
  2. Assembly: Attach the dowels to the boards at regular intervals to create rungs. Make sure the ladder is stable and secure.
  3. Customization: Paint or stain the ladder to match your decor. You can also distress the wood for a vintage look.

Now, you have a stylish storage solution that also serves as a decor piece.

DIY Outdoor Chair: Relaxation Redefined

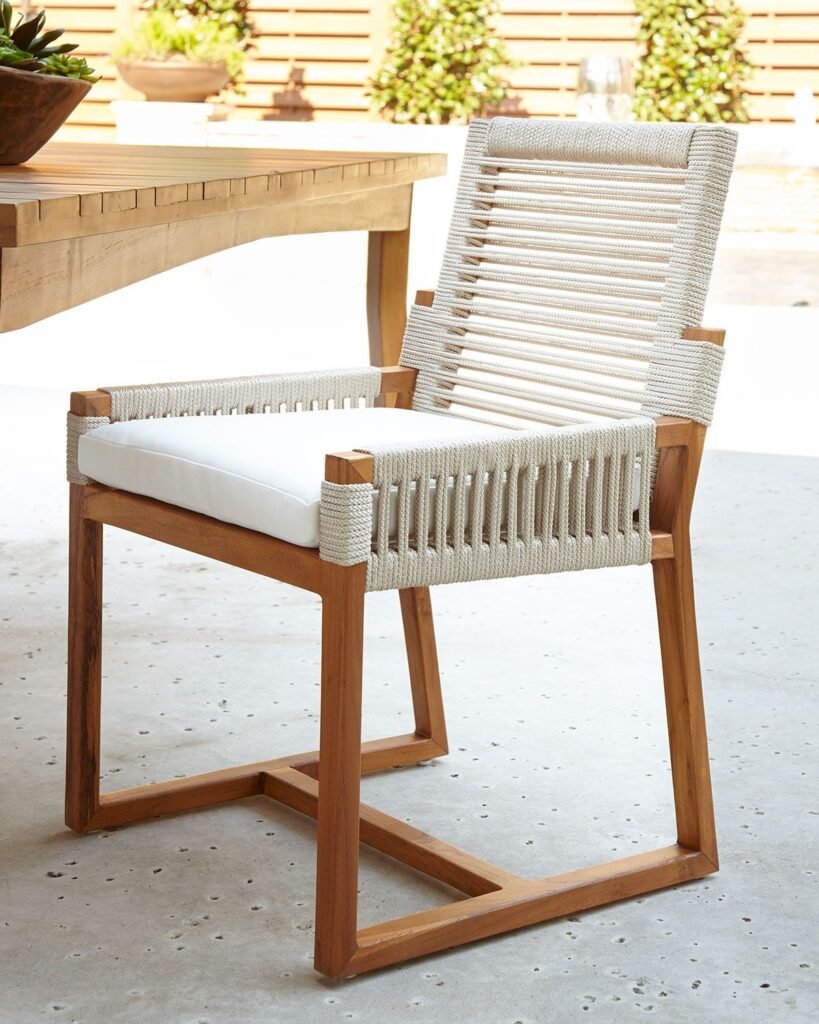
Transform your outdoor space with a DIY outdoor chair project. Whether you have a garden, patio, or balcony, this project will provide you with a comfortable seating option to enjoy the outdoors. You can personalize it to suit your style and preferences.

  1. Selecting Wood: Choose weather-resistant wood like cedar or redwood for outdoor use.
  2. Designing: Plan the chair’s design, including dimensions, backrest angle, and armrests.
  3. Cutting and Assembly: Cut the wood pieces according to your design and assemble the chair, ensuring stability.
  4. Finishing Touches: Sand the wood for a smooth finish and apply outdoor-friendly paint or sealant.

Your outdoor space will become your favourite relaxation spot, customized to your liking.

By immersing yourself in these DIY projects, you’ll not only improve your home but also gain valuable skills that will empower you to tackle more complex projects in the future. Remember, your journey into DIY begins with these simple yet impactful projects.

Gather your tools, unleash your creativity, and embark on your DIY adventure today!

Read More

Do Not Forget To Read

5 Easy Hacks To Transform Your Ordinary Home Look Luxurious

When people do projects to improve their homes, or while building new homes they often forget about the laundry room floor tile design.

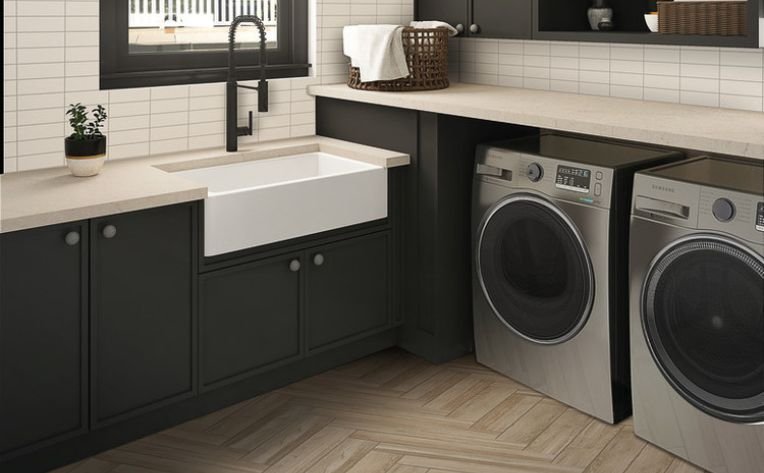
When it comes to laundry room flooring tile, there are various factors to consider. You must consider design, upkeep, and longevity in addition to your space and budget limits. There are various laundry room floor tile options available to satisfy a variety of needs and desires.

It’s important to choose the right floor tiles for your laundry room and how doing so can improve its usefulness and look while making it last longer and be easier to clean.

Importance of Selecting the Right Laundry Room Floor Tile

The laundry room is a highly used corner of the house with the possibility of moisture and frequent foot traffic.

Because of moisture, there is no better choice than tile. It’s easy to clean and protects your mess-prone floors. Keep your laundry room feeling neat and clean with surfaces you can easily wipe down.

We did the research on the best tiles for your laundry and here are our top 10 selections

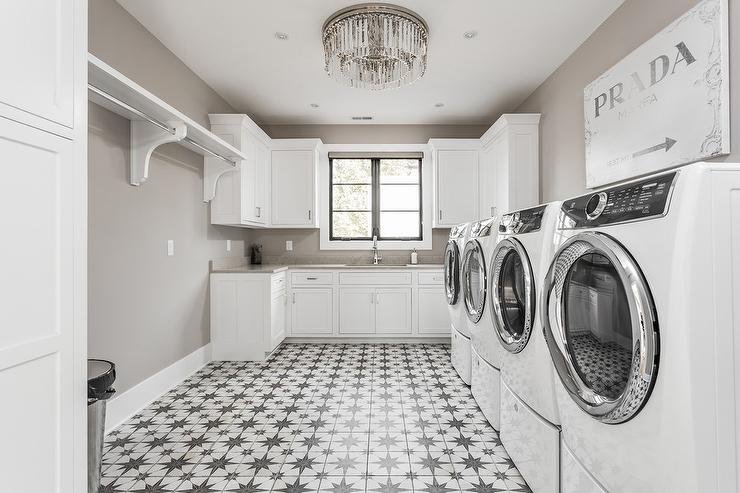
Ceramic Laundry Room Floor Tile

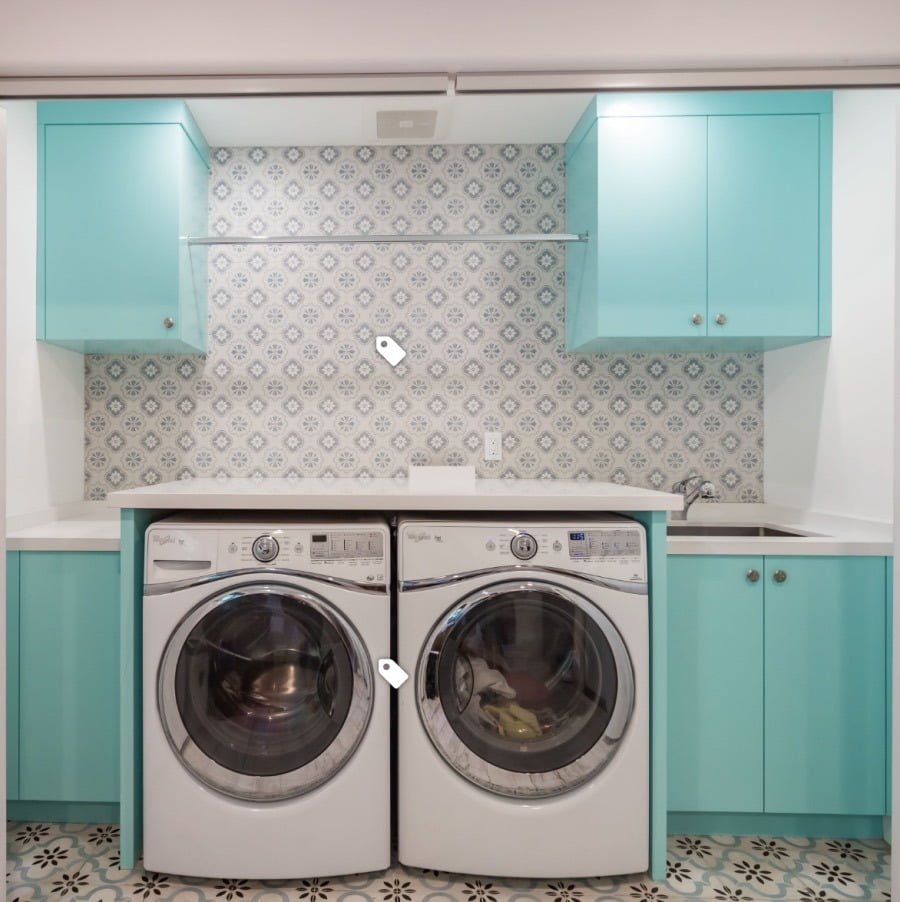
Ceramic tiles provide style, colour, and pattern diversity. It may be a bold look, patterned cement or ceramic tile is a truly timeless flooring style that can add a lot of cheer to a space.

These tiles are more durable and have good resistance to water which makes them a reliable choice for laundry room floor tile.

This decision might come down to the price of the tiles you like and the amount of effort you’re willing to contribute.

Image via Houzz

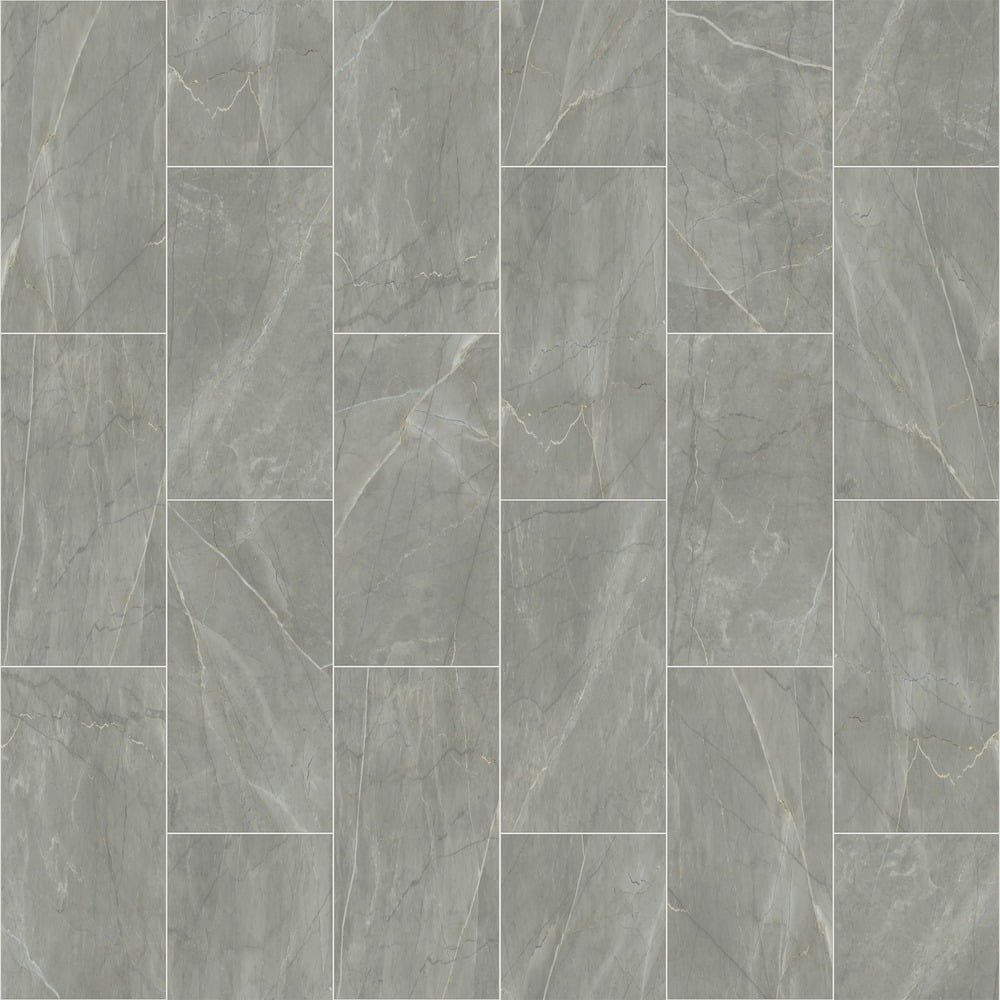
Porcelain Tiles

Porcelain tiles are very durable and long-lasting, water-resistant creating beauty in your laundry room. They’re also available in a large variety of colours, shapes, textures and sizes, easily mimicking other materials while retaining easy-to-care-for properties.

Laundry Room Floor Tiles

Penny Laundry Room Floor Tile

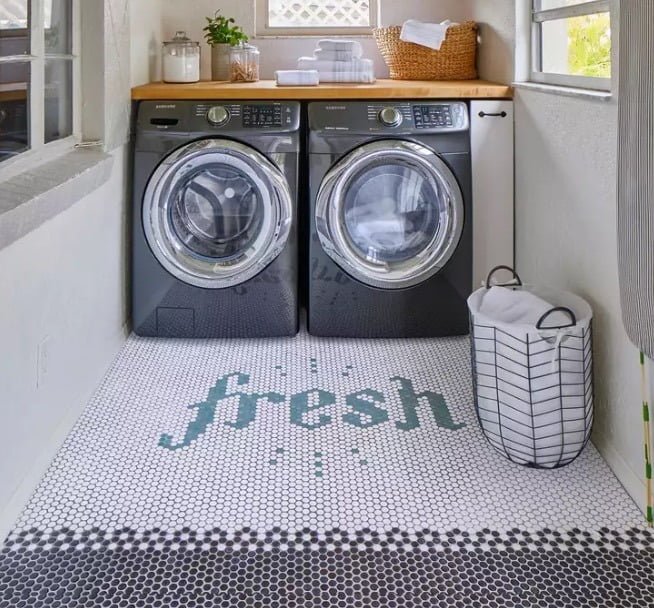
Another option for a traditional aesthetic and a long-lasting surface is porcelain penny tile. With penny tile, you can also easily alter your floor pattern by removing single tiles and replacing them with different colours.

Penny tiles could be the best decision for laundry room floor tile selection.

Laundry Room Floor Tiles

Vinyl Tiles or Planks

Vinyl tiles or planks are water-resistant, affordable, and easy to install. It comes in one piece, it’s seamless, and therefore, there’s little opportunity for water to seep into the subfloor. If you need further convincing, this is one of the least expensive flooring types.
They come in various designs, including wood and stone patterns, offering versatility in design.

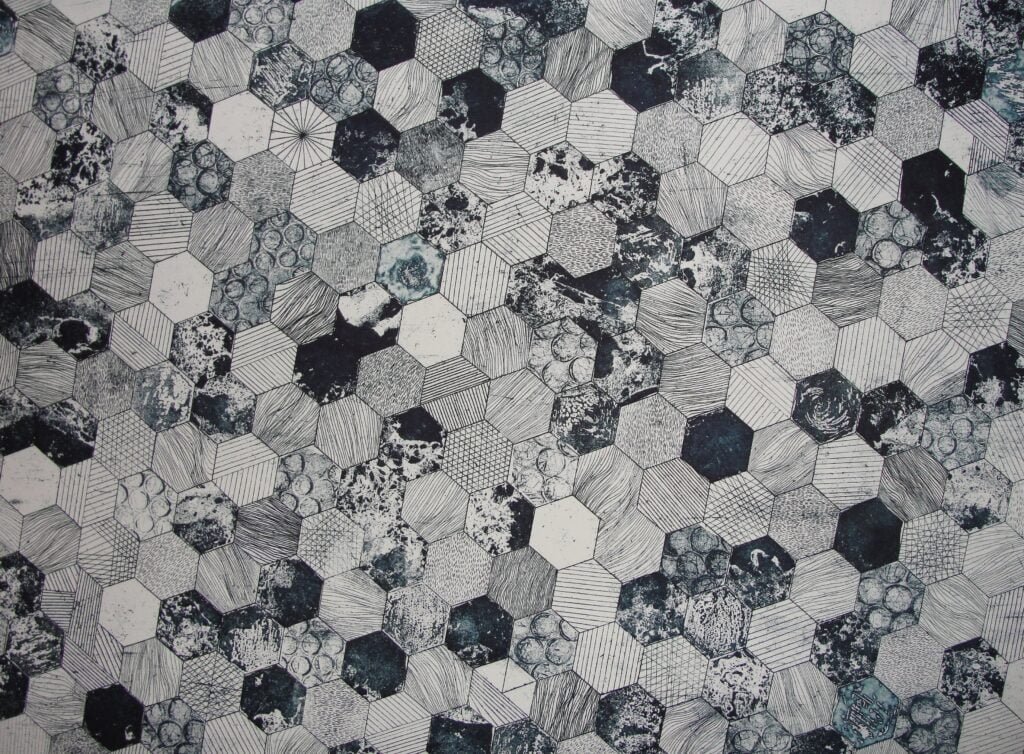
Mosaic Tiles for Laundry Room Floor Tile

Mosaic tiles offer a classic look to the laundry room. This tile is a simple way to add visual interest to your laundry room Whether creating an original pattern or a focal point in a room, mosaics are versatile for achieving any design goal.

You can explore the different colours, sizes and finishes of mosaic tiles which are made of many materials such as glass, stone, and porcelain.

image via Pinterest

Linoleum

Linoleum is a traditional material for laundry room floors that is making a big comeback thanks to new cool colours and patterns. But you should know that this isn’t the most lasting choice. Linoleum is easy to damage by water, but it is cheap to repair. If you choose a linoleum floor, make sure the floor below it is well protected.

Cork tiles

Cork tiles offer a sustainable and comfortable flooring option. When sealed properly, cork becomes water-resistant, and its softer surface underfoot adds a touch of comfort to your laundry room. Additionally, cork provides sound insulation, which can be beneficial in a space with washing machines and dryers

image via pixels.com

Epoxy flooring

Epoxy flooring, while not a traditional tile, is worth mentioning for its remarkable waterproof properties. It consists of a tough, waterproof coating applied over concrete floors. Not only is epoxy easy to clean, but it also delivers a sleek and modern aesthetic to your laundry room

Stone Tiles

Slate or stone tile is another durable option for your laundry room floor that looks subtly rustic. Depending on the type of stone, this type of tile can be more affordable than more decorative styles, and the style is versatile enough to work with a range of decorating schemes.

image via pixels.com

Ultimately, the best tile for your laundry room depends on your personal style, budget, and how you use the space. Consider the amount of foot traffic, the potential for water spills, and your aesthetic preferences when making your selection. Additionally, ensure that the tiles are properly installed and sealed to maximize their durability and longevity in a laundry room environment.

Must Read

5 Easy Hacks To Transform Your Ordinary Home Look Luxurious

Seraphinite AcceleratorOptimized by Seraphinite Accelerator
Turns on site high speed to be attractive for people and search engines.